Using the Repository Browser
Explanation on how to use the Repository Browser
The Repository Browser enables you to browse for specific elements from ServiceNow tables, easily add them to your diagram and set up filters to make searching for elements more efficient.
Add an element to a diagram via the Repository Browser
Locate the element in the Repository Browser
To add an element to a diagram first select a table in the Repository browser as follows:
- Click the Select a table search box.
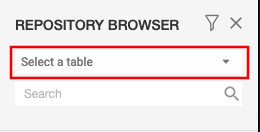
- A dropdown menu appears with a list of tables available. Either scroll and select the table that contains the element you want to include in the diagram or search for it.
Add the element to your diagram
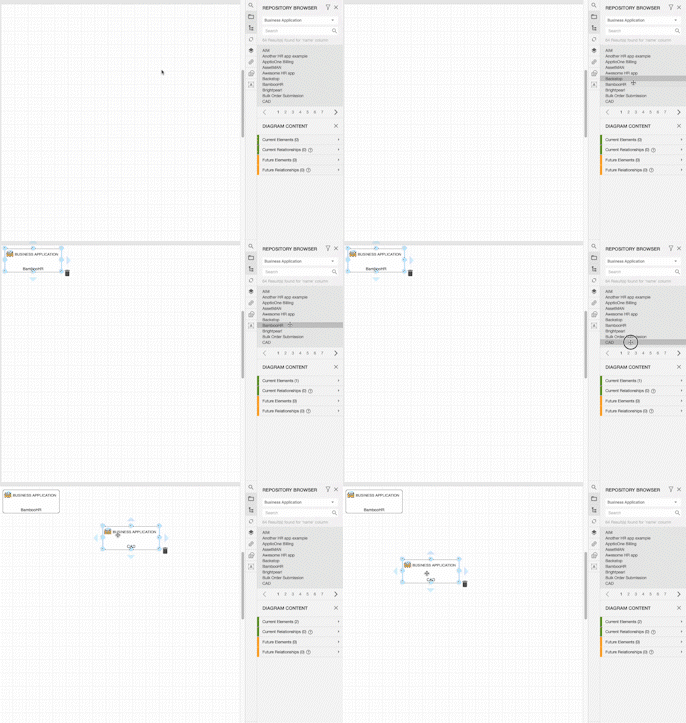
After locating the element in the Repository Browser, you can click on the element to add it to the uppermost left corner of the diagram. Alternatively, you drag the element to exactly where you want to add it to the diagram.
Searching for elements in the Repository Browser
After you have located the table containing the element you want to add to your diagram, you can search for elements in two ways: via fuzzy search or the exact words.
Fuzzy search
To use fuzzy search, enter part of the element's name i.e. you could find an element named Asset Management with the search terms asset ma or ma asset.
Search by exact word
To search by an exact work, enter that word in the search bar with double quotation marks, e.g. searching for "Linux" will only return results with Linux in the title.
Filter for elements in the Repository Browser
Filters make searching for elements in the Repository Browser easier by limiting the number of options available when you search in the Repository Browser. Users and ServiceNow admins can create personal filters for use in their own accounts. Admins can also make personal filters available for all users by setting them to global.
Authorization
Only ServiceNow admins are permitted to change a filter from Personal to Global.
Add a global filter to your Repository Browser
To add a pre-defined global filter:
- Select the filter icon in the Repository Browser menu.
- Select GLOBAL if the global tab is not already open.
- You will see a list of available filters. The filter may already be active. If not, click the tick box beside the filter you want to use. You can select as many filters as required.
- Check the Use Filters button is active. If not, click the button to activate it.
- Select APPLY.
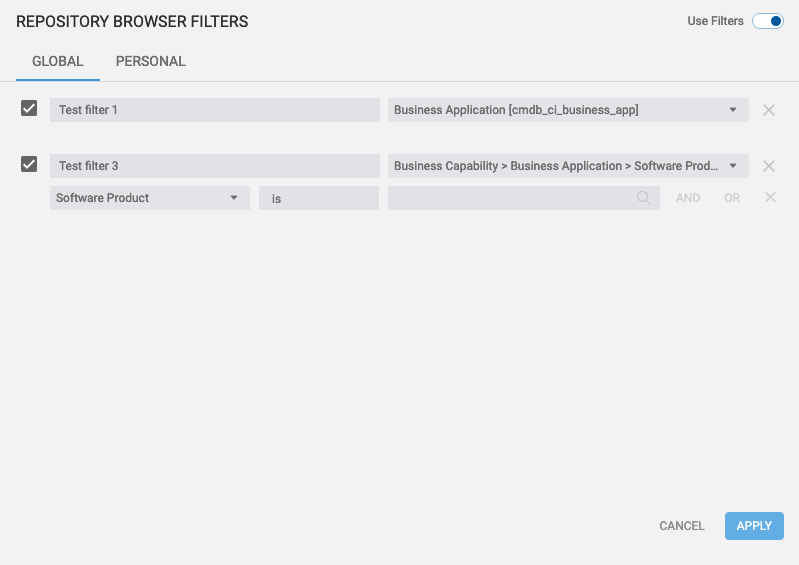
Global filters active
Create a personal filter
- Select the filter icon in the Repository Browser menu.
- Select PERSONAL if the global tab is not already open.
- Select the ADD button.
- Enter a name for the filter and select which table the filter should apply to.
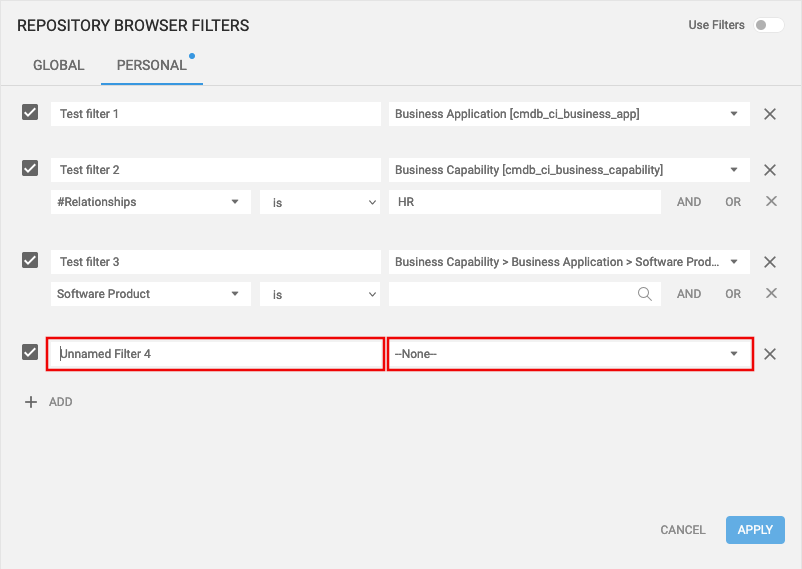
- Select the -- choose field -- dropdown menu to assign a field to the filter.
- Choose a phrase from the next dropdown menu to set up the filter's logic.
- Enter text to define the filter.
- Select AND or OR to extend the filter's logic.
- Select ADD if you wish to add more filters.
- Check the Use Filters button is active. If not, click the button to activate it.
- Select APPLY.
Deactivate filters
To deactivate all filters:
- Select the filter icon in the Repository Browser menu.
- Toggle the Use Filters button off.

- Select APPLY.
To deactivate specific global or personal filters:
- Select the filter icon in the Repository Browser menu.
- Select either the GLOBAL or PERSONAL tabs to find the filters you wish to deactivate.
- Deactivate the tick-box associated with any filters you wish to deactivate.
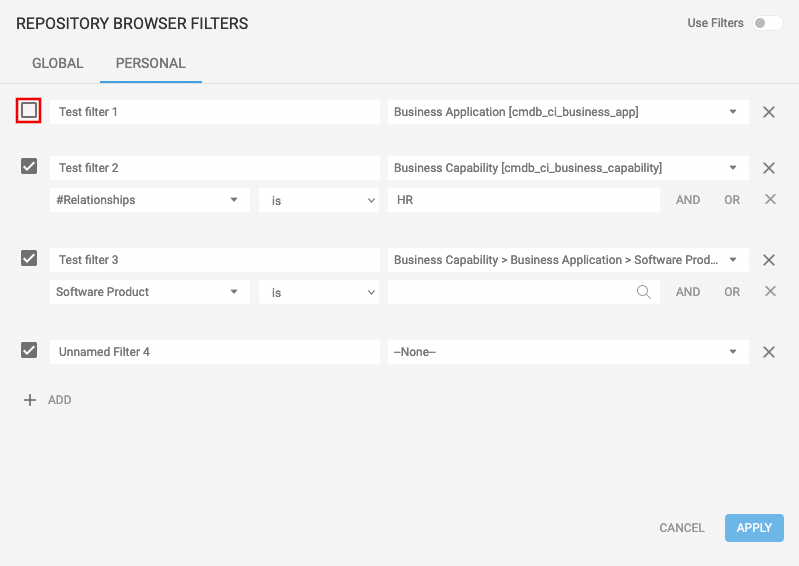
- Select APPLY.
Creating a filter in the Repository Browser
Updated over 1 year ago
